Things You Will Need:
- Wrapping paper (usually needs to match the wrapping paper that your gift is wrapped in).
- Tape
- Scissors
- Something shaped like a circle in the size that you want the bow (for example a cereal bowl)
Step 1: Using the circle shaped object of choice (for example a cereal bowl), trace five circles on the bottom side of the wrapping paper.
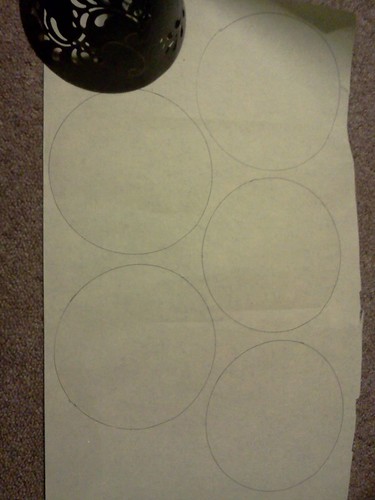
Step 2: Cut out the five circles.
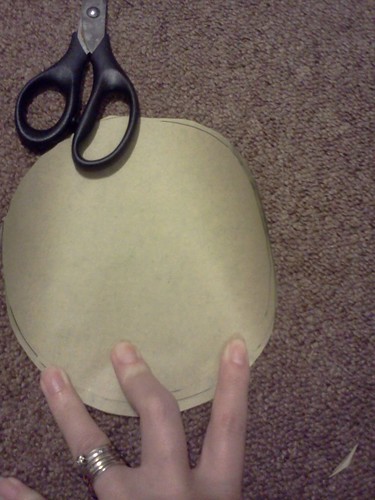
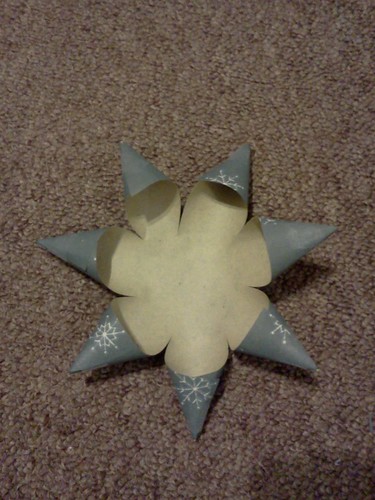
Step 3: Cut seven straight lines on the circles (making flaps/strips, as shown below).
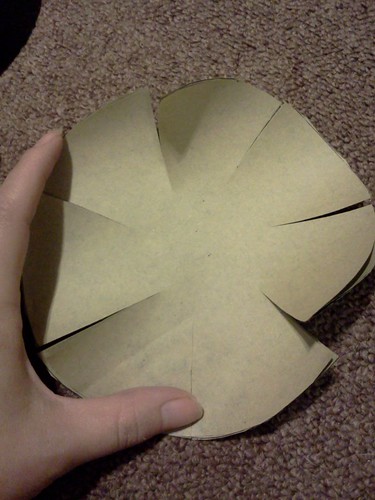
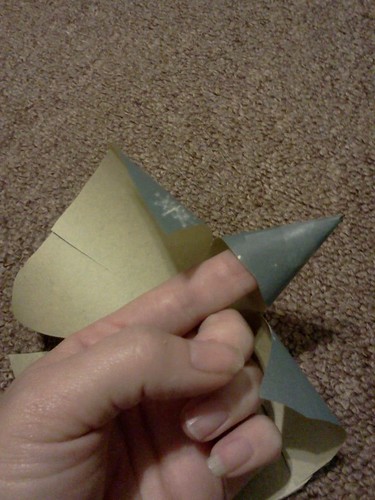
Step 4: Make cone shapes of each of the flaps you just cut (as shown below). Tip: I also go ahead and tear my tape that I use for the bows prior to making the bows, and just stick them to the edge of something, that way it is easy to grab the tape and keep going. For this you will need 39 strips altogether (35 strips for the cone shapes, and 4 other strips, which you will be shown for what later in this tutorial).
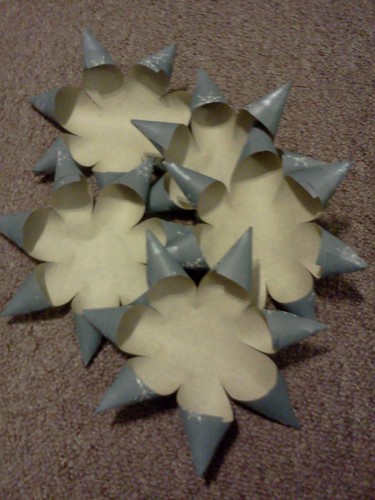
Step 5: This is where the other 4 strips of tape come in! Fold together each of the strips of tape and put a strip of tape on the inside of each of the now complete circles (for only four of the circles). Note: One of the completed circles will not need tape on the inside.
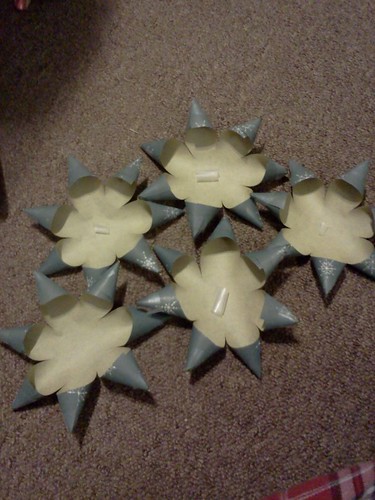
Step 6: Stack the circles ontop of each other (as shown below). The circle without tape on the inside will go ontop. Be sure to press down on the inside of each of the circles to make sure they stick together good plus they seem to close in on the bow better.
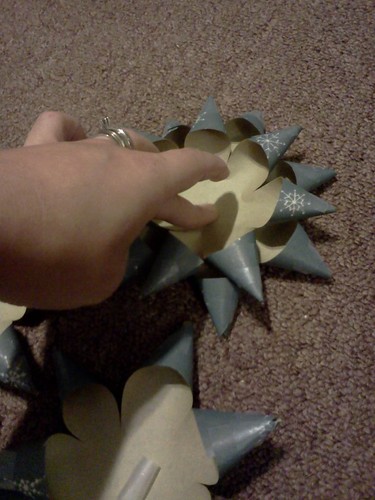
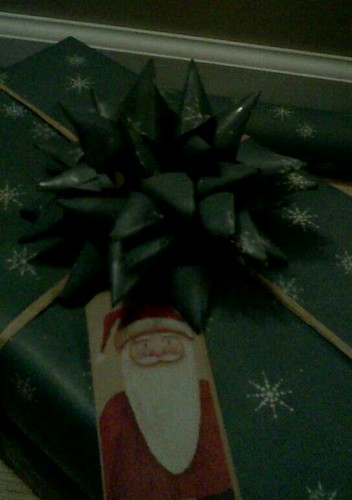
Step 7: Fold together a piece of tape and stick the bow to your gift and you're all done!

0 comments:
Post a Comment