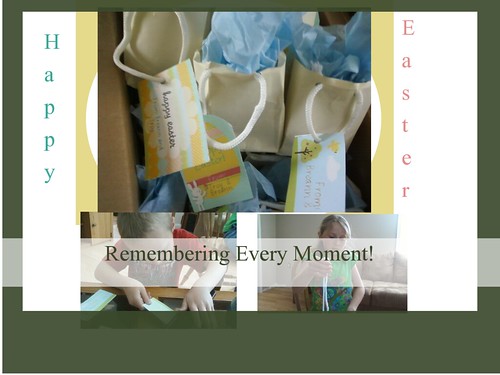
Well, Easter is right upon us and its the kids last week of school before Spring Break so we decided to make some treat bags up for their class at school as well as for their Youth Group and friends, etc.
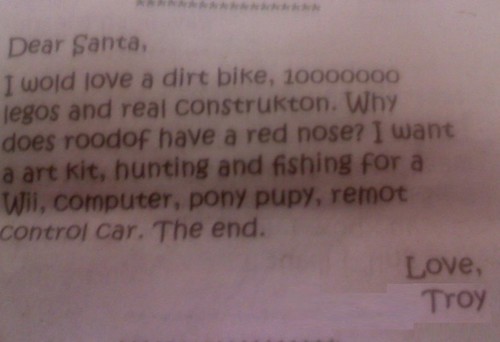
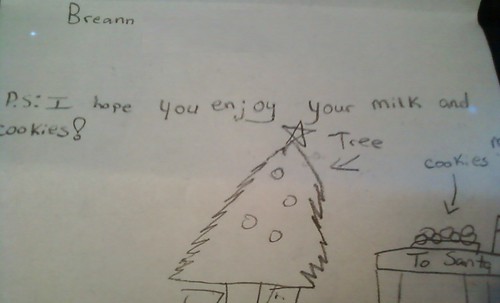
This was a really great project and not only did it teach the kids even more how it can be a nice thing to give to others, but it can be fun as well. The kids was able to help make the bags...Troy hole punched the gift tags (which we printed out and each read "Happy Easter From: Breann and Troy" and some even had a Bible verse) and Breann helped with cutting the string to tie in the gift bags and she even helped shape the bags.
We ended up making 61 bags total for this Easter. And...the bags are filled with all kinds of neat little goodies. We have marshmallow candies, miniature chocolate bunnies, chocolate eggs, etc. And...for Youth Group we even added religious pencils to theirs.
The way we made the gift bags was we took an envelope (yes, an envelope) and made the treat bags...and it is fairly simple to do once you get the hang of it. I think there is all kinds of different ways to make these bags...you can use different size envelopes...some people may use ribbon or some other type of string, etc. To do this project the way we did it was you just mainly:
1. Seal the envelope.
2. Cut off one end of the shorter ends of the envelope...that is one of the sides...not the top...where you sealed it and not the bottom (which is opposite of where you sealed it), but the spot you want to cut is either the left or right side (to make the bag's opening)...so that becomes the top of the bag.
3. Hole punch the bag at the top of the bag...to place your handle/string through.
4. So...now that you have the top of the bag (which has become the spot that you cut) you then make a crease on the left side, the right side, and the bottom...folding each of those sides in just a bit (maybe an inch or so).
5. Then fold each of those sides back the other way (this seems to kinda' help get the sunken look in the sides of the bag, etc.).
6. You then undo the creases by sticking your hand through the top of the bag and pushing down on what would now be the bottom part of the bag. This will leave two corners on each side of the bottom of the bag. Fold those corners in toward the center and tape them. Shape your bag to make it look more like a bag and you have the bag made.
7. Print out or get some type of gift tags and I even used clothesline (believe it or not, yes, clothesline) for the string/handle on these bags...cut the strings and if you need to hole punch your gift tags do so at this time and insert the string through the gift tags and through the holes on the bags...first one string on one side and one string on the other side of the bag and you can either tie or tape (we taped ours).
8. You can then add your treats or a gift or whatever and then add your tissue gift paper to make them even more cute.
And...ta-da...your very own very crafty, very adorable homemade gift bag!!
My question to you...are you and/or your family doing any crafty projects for Easter this year? If so...please do tell!!
{This Project is Also in the Members Area!}

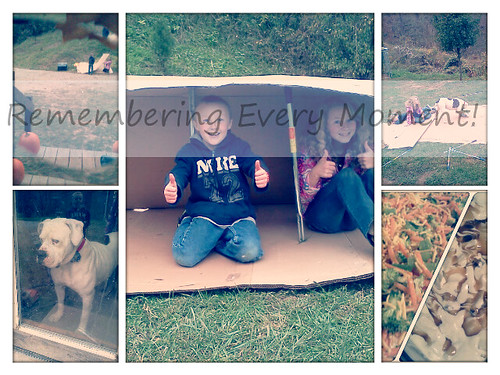 A fun day at home, making snacks (a veggie bar and "Snickers Caramel Apple Salad"), and making forts!